Yes my fuel consumption and speedo are in miles. We still use Miles rather than Kilometres in the UK. Basically due to the costs involved in changing all the signs and as we are an island it seemed fairly pointless to the government. Bit like when they thought about changing to left hand drive cars and driving on the other side. Would mean redesigning lots of one way systems so again was deemed too expensive for something that doesn't really matter.
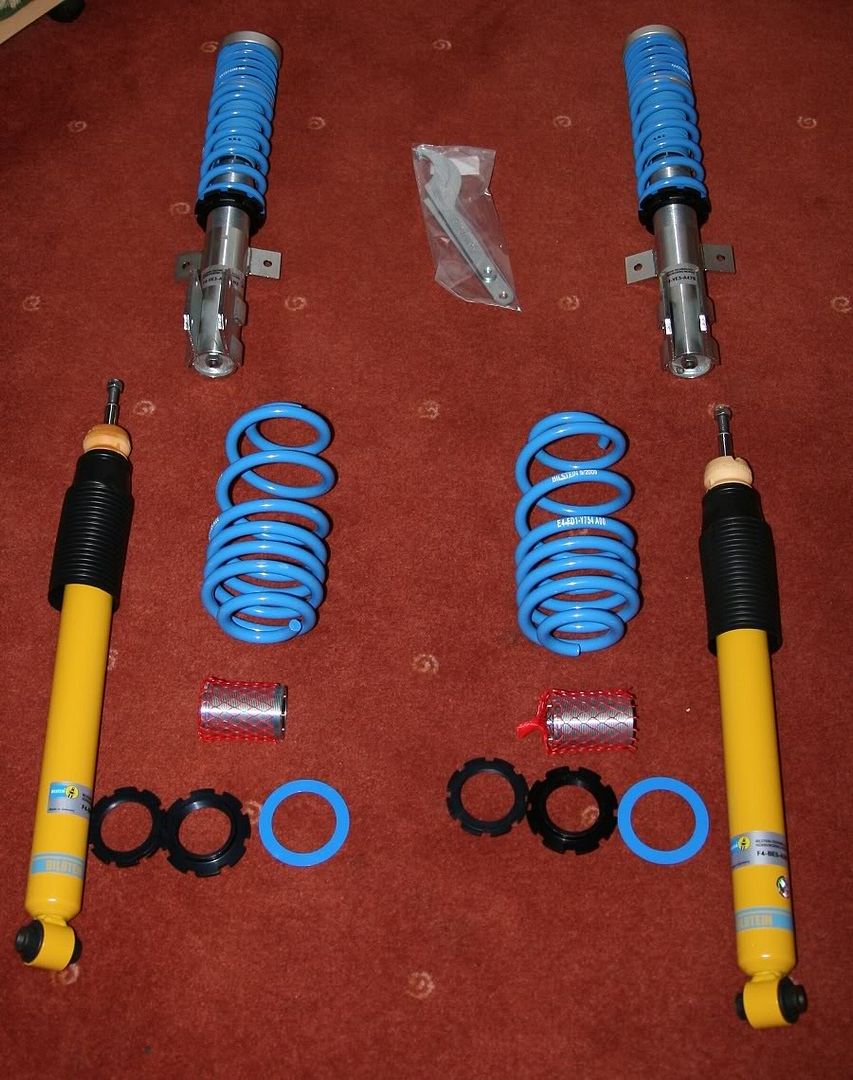
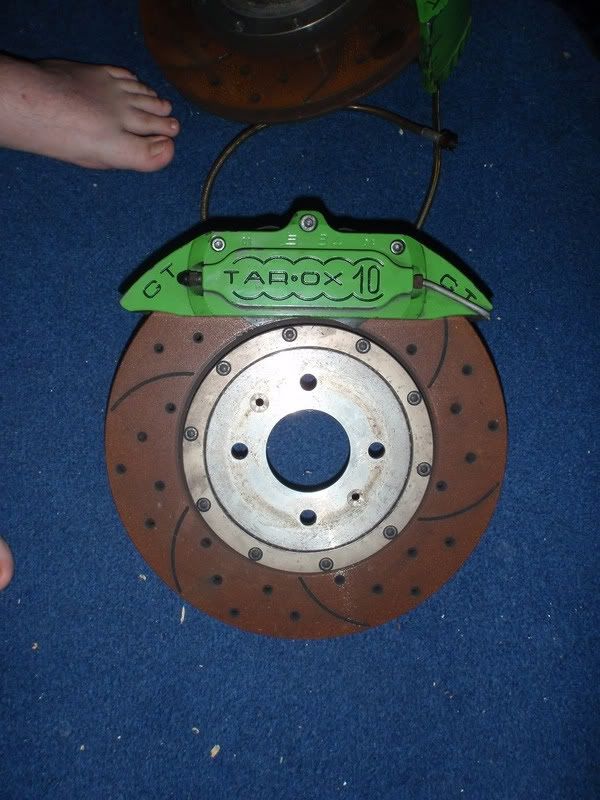
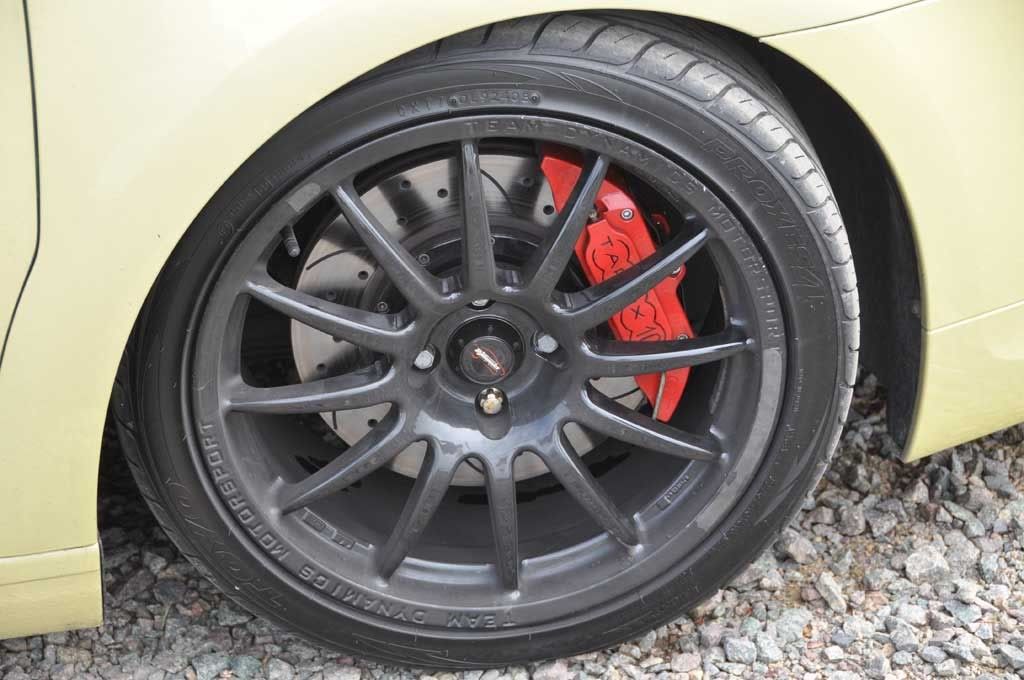
Anyway thought I would update you all with my current project on the car. Got lots to be done in the next few months. Citroen styling kit needs fitting and spraying, looking at upgrading the camshafts in the engine and exhaust. Hoping to hit 200hp with that done. However the current project is my new stereo install.
The equipment going into the car will be.
JL Audio ZR650-CSI front component speakers.
Rainbow SL 165 rear speakers.
2 x RE Audio SE 12" subwoofers
Genesis Profile 4 Channel amplifier, for speakers.
Genesis Profile Sub Ultra for subwoofer. 1 x 1000w RMS, but under rated typically put out 1200W+
Alpine IVA-D106R Headunit
Alpine NVE-M300P Navigation
Alpine KCE-400BT bluetooth
Alpine PXA-H100 Imprint processor
Alpine TUE-T150DV Digital TV and DAB radio reciever
Copied and pasted from the C4Owners forum. We have been working on it a few days now.
Day 1Well though I would do this as a project thread. Only really started today on the build. I know a few will possibly look at this and just want to see pictures rather than read, at the moment not much to show. But as it progresses there will be more. Going to take a while to complete. Probably going to take me two weeks plus easily to get it done. Working on it pretty much every day. However there are two of us doing the work which is a good thing. Technically doing two installs. His and my own. So while waiting for bits of mine to dry / bond we work on his.
Still not actually got all the equipment that will be installed yet, but it will all come as the project progresses.
So couple pictures of what was done today, which took longer than you might think will explain with the pictures.
Obviously the whole boot is sound deadened. Used a good few sheets of Dynamat Xtreme. All the boot floor, wheel arches, hatch, C pillars etc. All been given a decent layer of deadening. Cabling is from the original install but is all going to be replaced. The 4 gauge is coming out and 0 gauge is going in. New sub amp is much more powerful hence the upgrades. Along with some other wiring upgrades, and likely a new battery designed with audio installs in mind. Just got to wait on parts arriving. New battery terminals, wiring kit etc.
So first things first, build time. Some scrap wood I had lying around I pulled to bits off my old build to fabricate a support for the new lower floor section. Just basically test fitting bits and trying to get heights right. Lots of trimming and trying different bits of wood to get the heights right, this won't ever be seen so not a big deal that it looks rough.

After it was all measured and I was happy with heights etc was all bolted together into a single piece. Then gave it a coat of resin and hardener, reason being that as it is going to be in the wheel well it could get a bit wet. Water + non protected wood = rot. So used the resin and hardener to seal it all up and also just help make sure its solid.
Then it came time to secure it, now I could just attach the top sheet to this and leave it to rest in the wheel well. However not really a fan of that. Afterall if I had an accident there is a good few kilograms worth of equipment that can soon turn into quite deadly missiles. Prefer it to be safely installed and properly secured. So at this point the axle stands came out the car was jacked up. Blue springs from the coilovers making a little appearance.

The cover under the car was removed and 4 new small holes were drilled through the wheel well and into the wood. Three to bolt into the wooden frame. Used the same points for putting my bolts in as Citroen did for the undercover plastic protection right next to each other so obviously a good place to secure points too. Also the cover protects it all so not open to the elements etc. Was all bolted together and then ran hot glue over the bolts etc to make sure that it was water tight. Don't want the bolts going rusty etc.
Also added a new drainage point. As I had noticed I was getting a lot of water in the wheel well. Possibly the Dynamat and it getting condensation on it. Also sealed any original drainage with said Dynamat so a small drainage point was added at the lowest point.
All secured and everything refitted. The wood is now physically attached to the wheel well from under the car. Resin is dried, not much different from before when I was measuring looks wise. But talking a couple hours work with everything being done. Waiting for it to dry, jacking the car etc up.

The rough top plate was then cut out, again not going to ever be seen as part of the install. It's just there for me to attach other bits to. Just need a nice secure point for everything to attach to. Also with everything being bolted to everything else properly. Should hopefully get rid of anything that might potentially cause rattles.
So as it doesn't need to be perfect the points around the edges don't have to line up perfectly. Makes it much easier, as cutting something to the shape of the wheel well. Where I need it would not have been fun. I didn't fancy making templates for something that is never going to be seen.

We also managed to repair my fog light while the car was in the air. I still had not got round to fixing it, as the car wasn't used when we had the snow. Nor did I fancy doing it then, plus just never had the time. However fixed it today when the car was jacked up.
In the end just secured it with a bit of hot glue from the glue gun. Was only one of the clips that was snapped, so a bit of hot glue and it's perfect now. Why spend £25 or so, when a few pence worth of glue does the same job? The bit of the clip that had broken off was still there, so sorted nice and easily.
So basically this is all we got done before it got too dark to work, tomorrow starting on the door builds. Going to get a bit more done in the boot hopefully. Get the next layer up done, make sure its perfect. As that is a layer that will be seen, going to need to be a bit more careful with that one. Early start on it tomorrow, should be able to get more done as I won't need to pop out for materials, tools etc.


